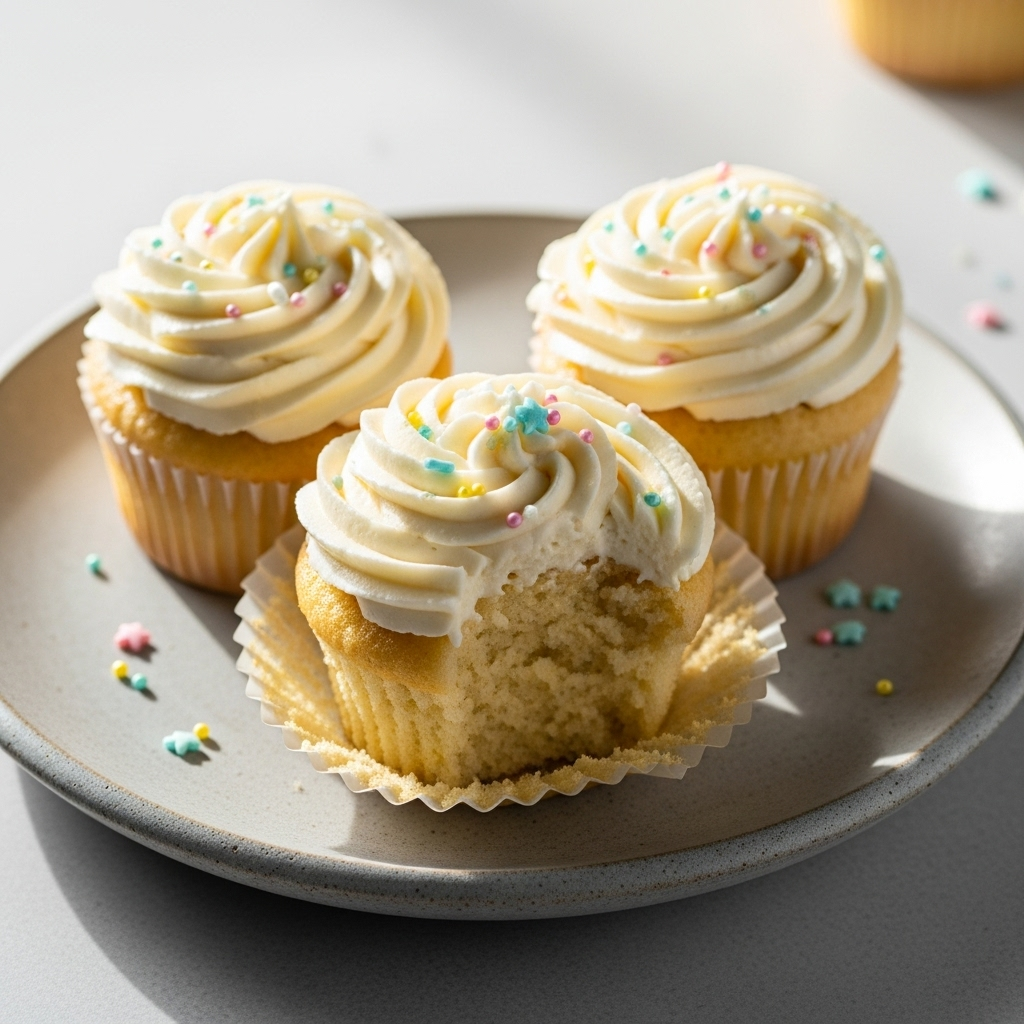
There’s something truly magical about teh classic vanilla cupcake-the delicate crumb, the gentle aroma, the sweet, comforting flavor that dances on your taste buds. But what if you need to skip gluten without missing out on this timeless treat? Welcome to Sweet Success: Your Guide to Gluten-Free Vanilla Cupcakes, where tradition meets innovation in the most appetizing way. Whether you’re baking for dietary needs or simply craving a lighter twist on a beloved favourite, this guide will walk you through the secrets to creating moist, fluffy, adn utterly irresistible vanilla cupcakes that anyone can enjoy. Get ready to turn your kitchen into a haven of gluten-free bliss, one perfectly baked cupcake at a time.
Choosing the Perfect Gluten-Free Flours for Light and Fluffy Cupcakes
Sweet Success: Your Guide to gluten-Free Vanilla Cupcakes begins with understanding the delicate balance of gluten-free flours to create cupcakes that are irresistibly light and fluffy. Unlike traditional wheat flours,gluten-free blends need to mimic the same aeration and tenderness without the natural elasticity gluten provides. Combining the right flours is an art that transforms a dense crumb into a dreamy bite of vanilla heaven.
Start by selecting a blend of fine-textured almond flour for moisture and richness, white rice flour for a neutral flavor and light crumb, and tapioca starch for that coveted chewiness and crisp edge. Each flour plays a specific role, so mixing equal parts of almond and rice flour, with a third part tapioca starch, yields a beautifully textured cupcake that practically melts on your tongue.
Prep and Cook Time
- Planning: 20 minutes
- Baking: 18-22 minutes
- total Time: 40-45 minutes
Yield
Makes 12 standard-sized cupcakes.
Difficulty Level
Easy to Medium – Perfect for home bakers looking to master gluten-free baking with confidence.
Ingredients
- 1/2 cup almond flour,finely ground
- 1/2 cup white rice flour,sifted
- 1/4 cup tapioca starch
- 1 tsp xanthan gum (helps bind and provide structure)
- 1 1/2 tsp baking powder
- 1/4 tsp baking soda
- 1/4 tsp fine sea salt
- 3/4 cup granulated sugar
- 1/2 cup unsalted butter,softened to room temperature
- 2 large eggs,at room temperature
- 1 cup whole milk,warmed
- 1 vanilla bean,split and seeds scraped
- 1 tsp pure vanilla extract
- 1 tbsp apple cider vinegar (to react with baking soda and lift)
Instructions
- Prepare the vanilla bean: Split the vanilla bean lengthwise with a sharp knife,then scrape out the tiny seeds with the back of the knife. Set both seeds and pods aside.
- Warm the milk: in a small saucepan, gently warm the milk with the vanilla bean seeds and pods over low heat for 5 minutes to infuse an intense vanilla aroma. Remove the pods and let the milk cool slightly.
- Mix dry ingredients: In a large bowl, whisk together the almond flour, white rice flour, tapioca starch, xanthan gum, baking powder, baking soda, salt, and sugar. This ensures even distribution of leaveners and prevents clumping.
- Cream butter and eggs: In a separate bowl, beat the softened butter until fluffy. Gradually add the eggs one at a time, mixing well between additions. This adds air for a lighter texture.
- Combine wet and dry: Slowly add the dry ingredients to the butter mixture,alternating with the warm vanilla-infused milk. Begin and end with the dry mixture. Mix gently until just combined to avoid overworking the batter.
- Add vinegar and vanilla extract: Stir in the apple cider vinegar and vanilla extract. the vinegar reacts with baking soda to provide extra lift, creating a tender crumb.
- Fill cupcake liners: Spoon the batter evenly into a 12-cup muffin tin lined with paper cupcake liners, filling each about 2/3 full to allow room for rising.
- Bake: Place in a preheated oven at 350°F (175°C) and bake for 18-22 minutes. Test doneness by inserting a toothpick-if it comes out clean, the cupcakes are ready.
- Cool completely: Allow cupcakes to cool in the pan for 5 minutes before transferring to a wire rack. Letting them cool fully prevents frostings from melting.
Chef’s Notes
- Flour variations: If almond flour isn’t available, substitute with superfine coconut flour, reducing quantity by half and adding an extra egg for moisture.
- Milk alternatives: Use almond or oat milk if dairy-free; warm and infuse with vanilla similarly.
- Make-ahead tip: Bake cupcakes a day in advance and store in an airtight container. Bring to room temperature before frosting for best texture.
- Common pitfalls: overmixing causes dense cupcakes. Mix just until ingredients are combined for the lightest results.
- Vanilla bean extract: For intensified flavor,double the vanilla bean paste quantity or add a teaspoon of vanilla bean powder.
Creative Frosting Ideas to Complement Your Gluten-Free Vanilla Cupcakes
Light, fluffy cupcakes deserve frostings that elevate their delicate vanilla essence. Try a Swiss meringue buttercream infused with vanilla bean seeds for a silky finish that’s not too sweet. For a tangy contrast, whip up a cream cheese frosting with a touch of lemon zest and vanilla extract. If you want colour and bold flavor, a fresh berry coulis glaze drizzled over a dollop of whipped coconut cream creates an irresistible visual and taste pairing.
Decorate with edible flowers, vanilla bean specks, or finely chopped toasted almonds for an elegant, gourmet touch. The contrast in textures will heighten the sensory experience, ensuring every bite offers a symphony of flavors and mouthfeel.
Serving Suggestions
- Present cupcakes on a tiered cake stand to showcase their gorgeous crumb and decorative frostings.
- Pair with a cup of high-quality green tea or a fragrant chamomile infusion to balance sweetness.
- Garnish with fresh mint leaves or a light dusting of powdered sugar to add a fresh, clean finish.
- for festive occasions, consider adding a sprinkle of edible gold leaf or delicate sugar pearls for shimmer and elegance.
| Nutritional Info (per cupcake) | Calories | Protein | Carbs | Fat |
|---|---|---|---|---|
| gluten-free Vanilla cupcake | 210 kcal | 4 g | 25 g | 11 g |

For even more inspiration, explore our detailed guide on essential gluten-free baking techniques and expand your skills. For a deeper understanding of gluten-free flour properties,visit Bob’s Red Mill’s complete flour blend guide.
Q&A
Q&A: Sweet Success – Your Guide to Gluten-Free Vanilla Cupcakes
Q1: Why choose gluten-free vanilla cupcakes over regular ones?
A1: whether you’re celiac, gluten-sensitive, or simply experimenting with healthier options, gluten-free vanilla cupcakes offer the perfect sweet treat without the gluten. They maintain that classic vanilla charm but accommodate dietary needs, ensuring no one misses out on dessert magic.
Q2: What makes a vanilla cupcake truly “gluten-free”?
A2: The key lies in swapping traditional wheat flour with gluten-free alternatives like almond flour, rice flour, or a well-balanced gluten-free flour blend. These flours provide the cupcake structure and texture while keeping it safe for gluten-intolerant guests.
Q3: How can I ensure my gluten-free cupcakes stay moist and tender?
A3: Gluten-free flours can sometimes dry out baked goods,so it’s essential to add moistening agents like sour cream,yogurt,or applesauce.Also,a touch of xanthan gum or guar gum can mimic the elasticity gluten provides,resulting in that perfect soft crumb.Q4: Can I use the same vanilla frosting recipe for gluten-free cupcakes?
A4: Absolutely! Vanilla frosting is naturally gluten-free.just double-check that any flavorings or extracts are pure and free from hidden gluten. The sweet, creamy frosting complements the cupcakes beautifully, creating a delightful balance of flavors.
Q5: Are gluten-free vanilla cupcakes more difficult to bake?
A5: They do require a bit of finesse and some trial and error, especially when choosing the right flour blend and measuring moisture levels. However, with a few tweaks and patience, you’ll master the art of baking cupcakes that look and taste just as heavenly as the classic versions.
Q6: what’s the secret to enhancing the vanilla flavor in gluten-free cupcakes?
A6: The secret is high-quality vanilla extract or vanilla bean paste. Pure vanilla offers depth and richness that elevate every bite. Pair it with a pinch of salt and a little lemon zest to brighten the flavors and create an irresistible experience.
Q7: Can I decorate gluten-free vanilla cupcakes the same way as regular ones?
A7: Yes! Whether it’s piping swirls of frosting, sprinkling edible glitter, or adding fresh fruit, decoration styles remain the same.Just ensure that any sprinkles or toppings you use are certified gluten-free to keep the cupcakes safe for all.
Q8: Where can I find reliable gluten-free flour blends?
A8: many grocery stores now offer gluten-free flour blends tailored for baking. Look for brands that combine rice flour, tapioca starch, and potato starch for best results. Specialty health food stores and online retailers also carry excellent blends designed specifically for cakes and cupcakes.
Q9: How do gluten-free vanilla cupcakes pair with beverages?
A9: these cupcakes shine alongside a warm cup of tea, a creamy latte, or chilled vanilla almond milk.Their light, sweet profile makes them versatile for pairing, adding a cozy touch to afternoon gatherings or celebrations.
Q10: Where should I store gluten-free vanilla cupcakes to keep them fresh?
A10: Store cupcakes in an airtight container at room temperature for up to two days.For longer freshness, refrigerate them, but allow the cupcakes to come to room temperature before serving for the best texture and flavor.
Embrace the joy of baking gluten-free vanilla cupcakes with confidence; your sweet success awaits!
future Outlook
whether you’re a seasoned baker or a curious newbie,mastering gluten-free vanilla cupcakes is a delicious adventure that proves sweet success is within everyone’s reach. With the right blend of ingredients, a touch of patience, and a dash of creativity, you can whip up fluffy, flavorful treats that satisfy both dietary needs and craving for comfort.So next time you crave that classic vanilla cupcake charm-gluten-free and guilt-free-remember that each bite is a celebration of skill, care, and the simple joy of baking made accessible to all. Happy baking!